Installation
Bokuchi is available for Windows, macOS, and Linux. Download the latest version from the GitHub Releases page.
Download
Section titled “Download”Visit the Releases page and download the installer for your operating system.
.exe— Standard installer (recommended).msi— MSI installer
Run the downloaded installer and follow the on-screen instructions.
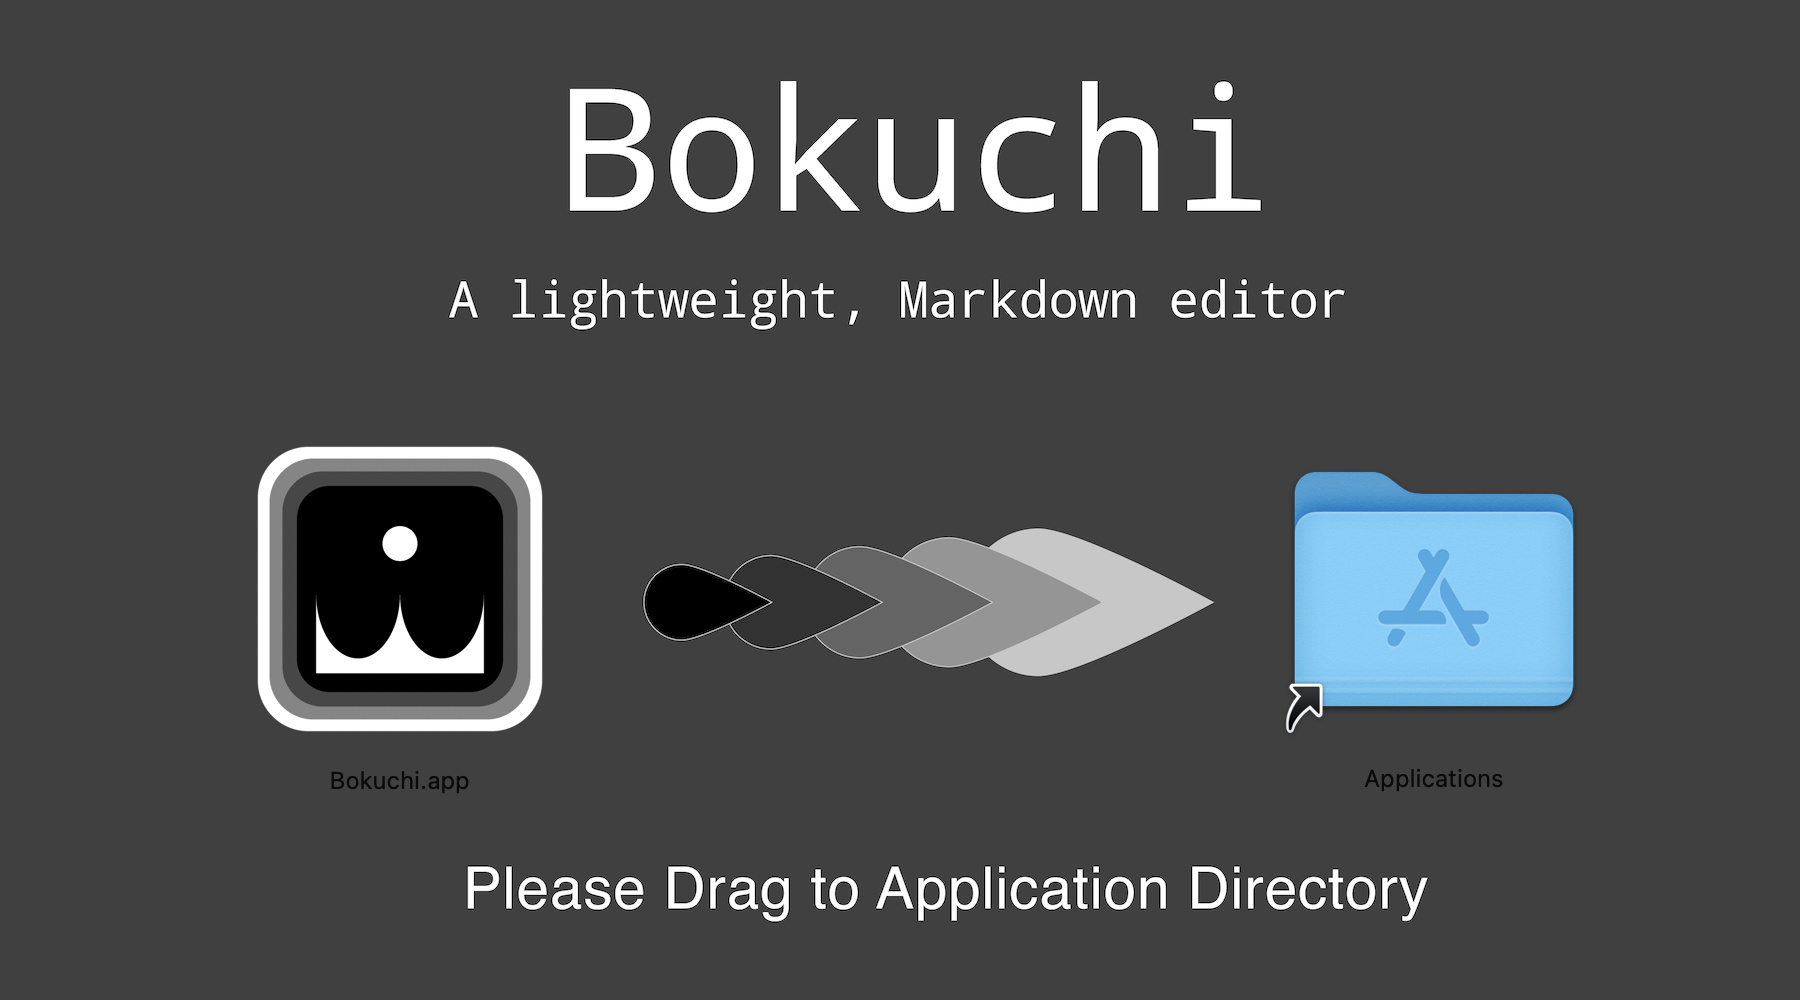
.dmg— Disk image (Universal, works on both Intel and Apple Silicon)
- Open the
.dmgfile - Drag Bokuchi to the Applications folder
- Open Bokuchi from your Applications folder
.deb— Debian/Ubuntu package.AppImage— Portable, runs on most distributions
For .deb:
sudo dpkg -i bokuchi_*.debFor .AppImage:
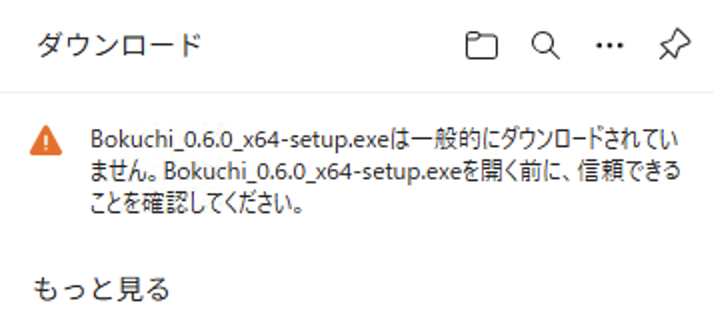
chmod +x Bokuchi_*.AppImage./Bokuchi_*.AppImageWindows: SmartScreen Warning
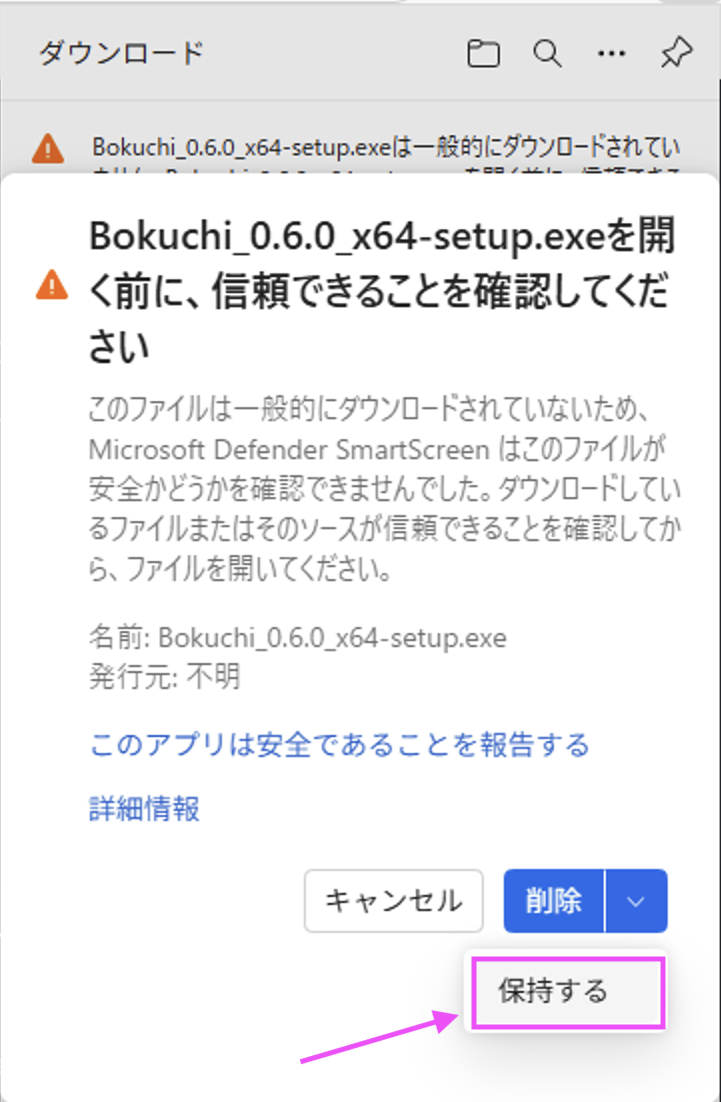
Section titled “Windows: SmartScreen Warning”When you download and run the Bokuchi installer on Windows, you may see a series of warnings from the browser and Microsoft Defender SmartScreen.
-
Browser download warning — Your browser may show a warning that the file is not commonly downloaded. Click the menu or More option to proceed.
-
Save the file — Select Save (or Keep) from the menu to save the installer to your computer.

-
SmartScreen confirmation — Microsoft Defender SmartScreen may show a final confirmation dialog. Click Keep to allow the file.
After Installation
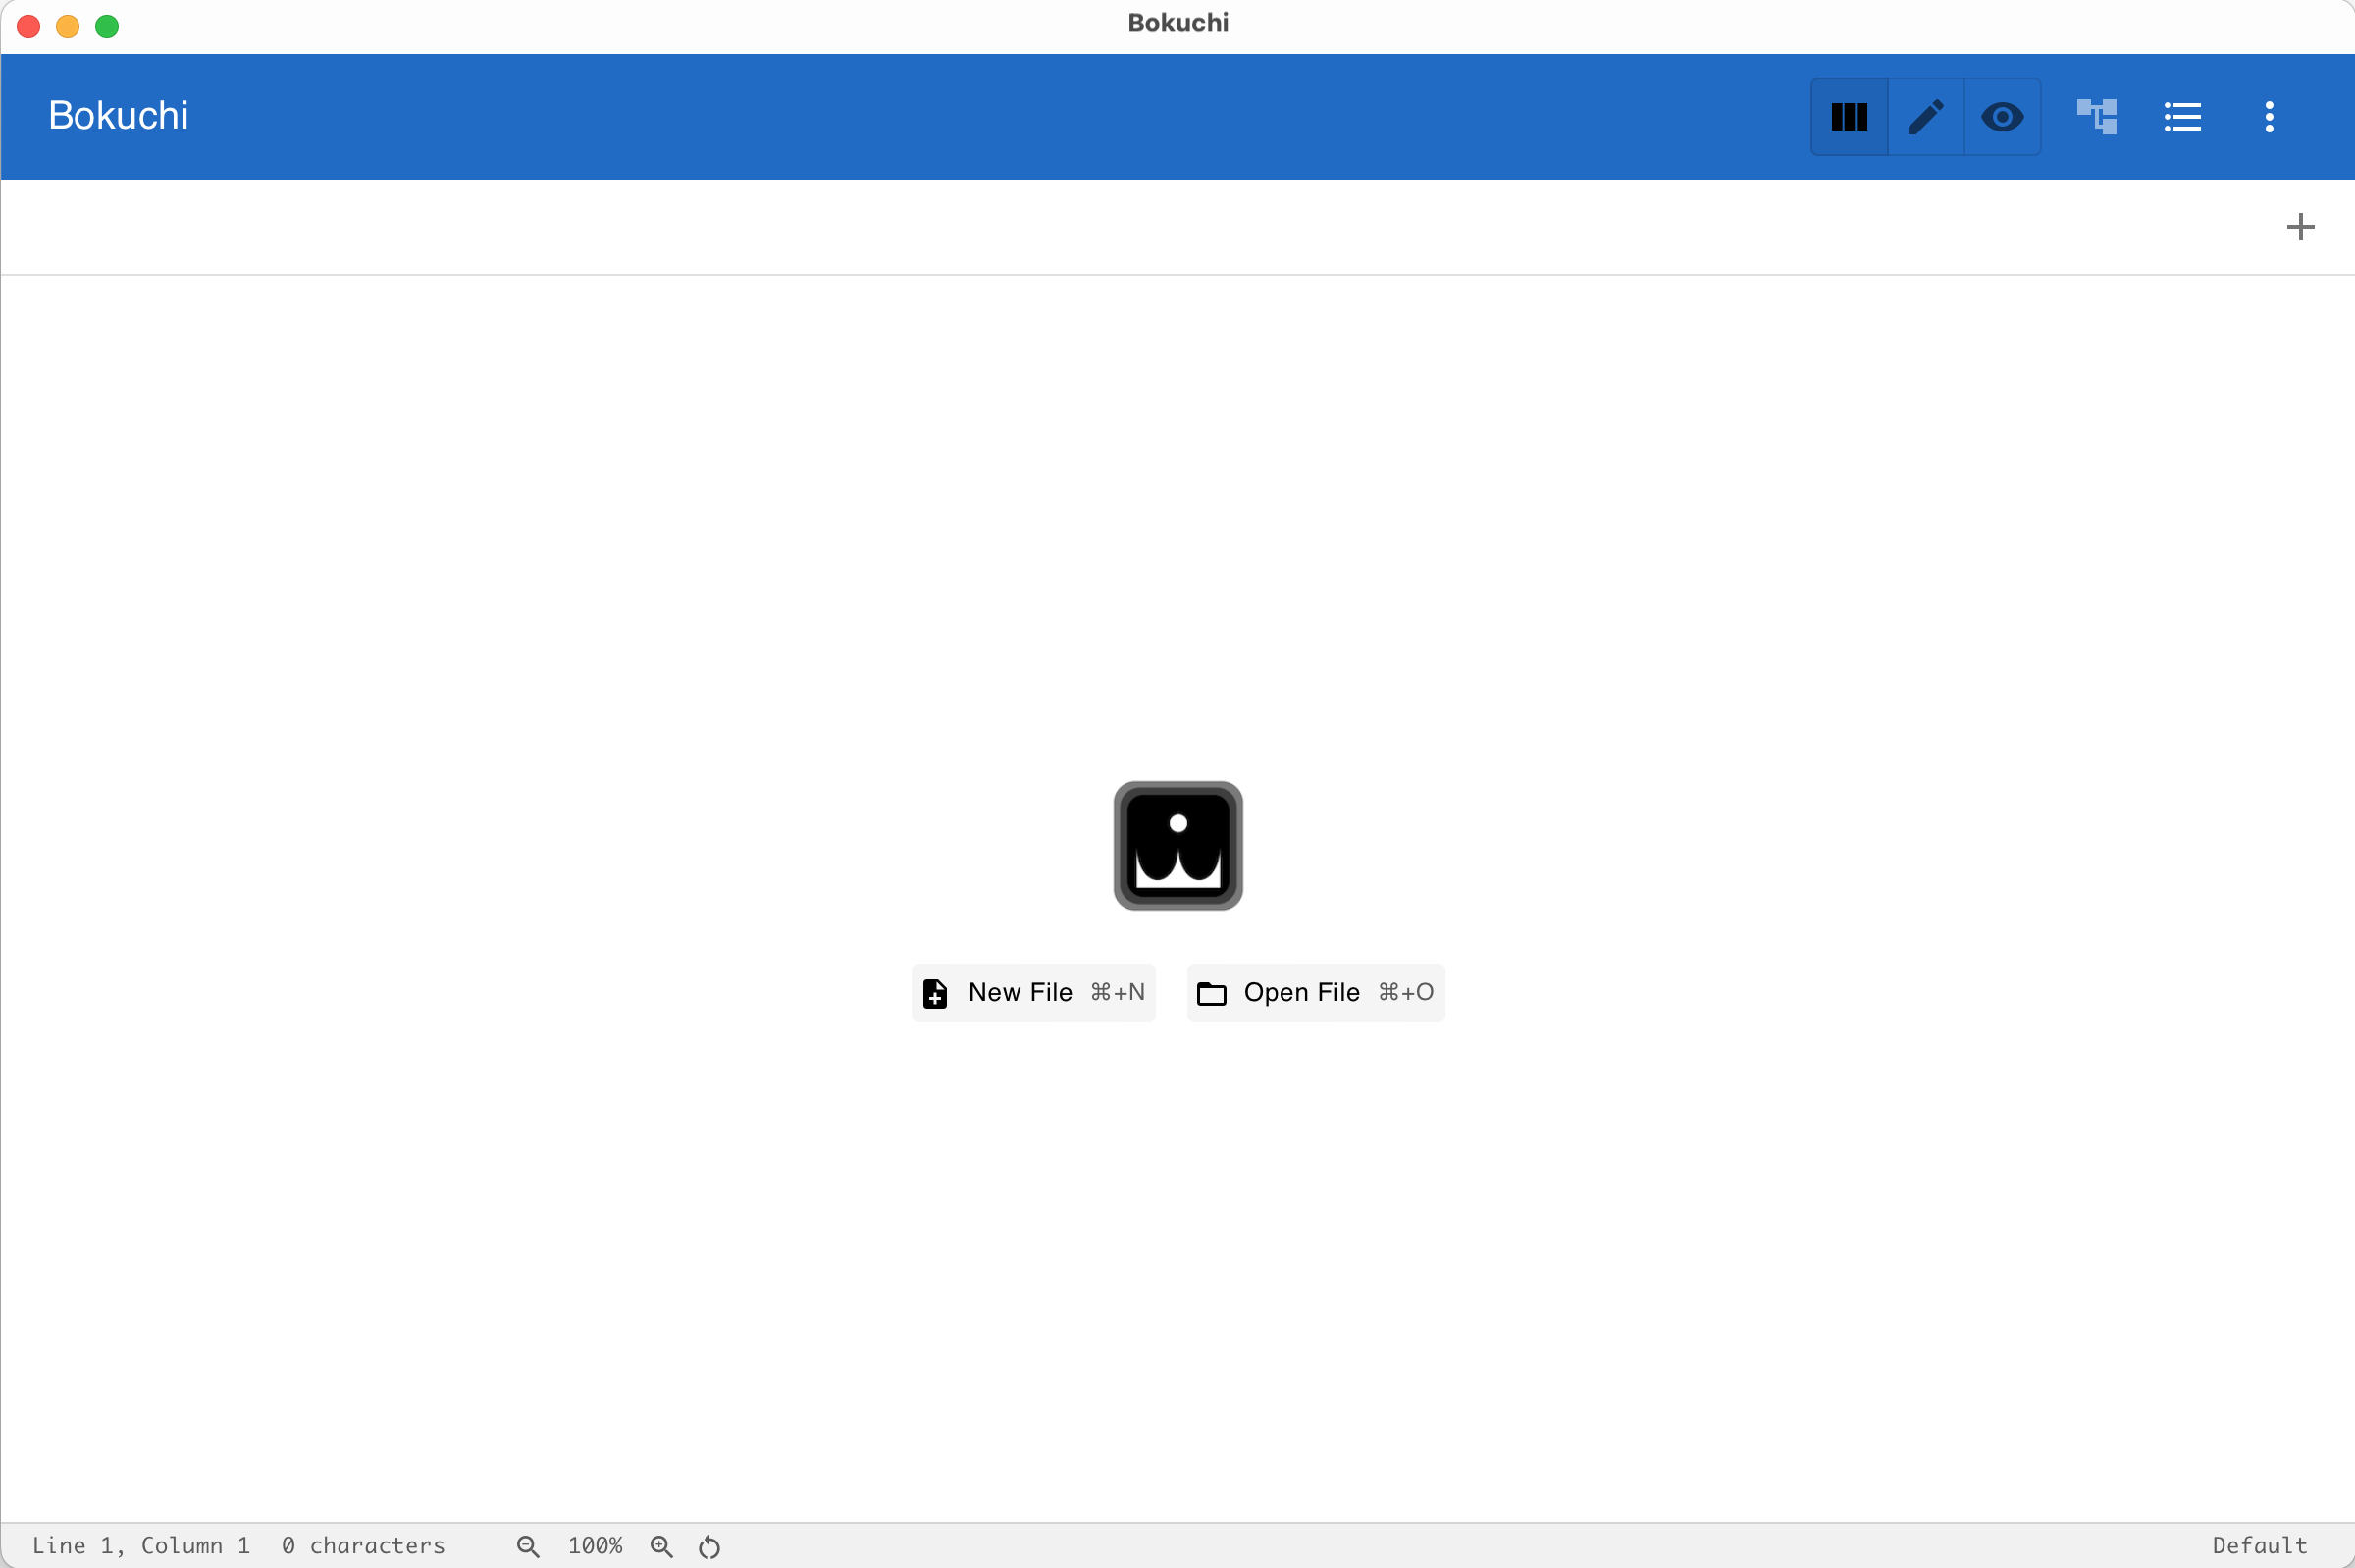
Section titled “After Installation”When you launch Bokuchi for the first time, you will see the empty state screen. From here you can create a new file with New File or open an existing file with Open File.
The default interface language is English. You can change it to any of the 14 supported languages in Settings > Interface > Language.
Next Steps
Section titled “Next Steps”- Create your first document — A step-by-step walkthrough
- Learn the interface — Understand each part of the screen